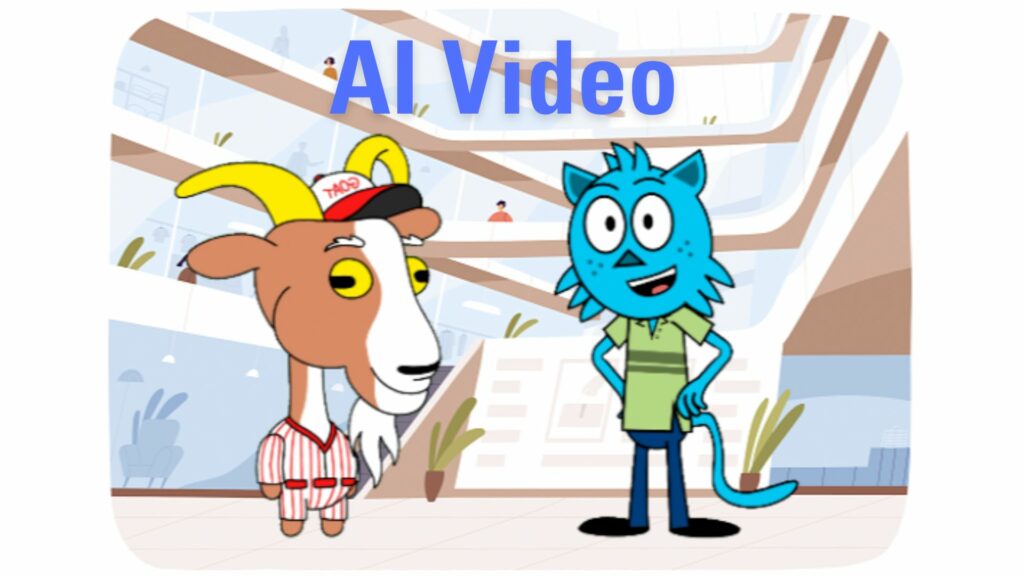
in 4 simple Steps.
INTRO
This faceless kids channel earned in the last 30 Days anywhere between 66k€ and 1,1 Million Euros.
And in this Tutorial I will show you how you can create your own animated Videos in 4 simple steps.
Using only free Tools, including Scripting, Voiceover, Animations & Captions in less then 30min.
#1 STORY
The first thing you need to do is generate the scripts for your kids animation.
Either you gonna write one yourself or you use ChatGPT as your scriptwriter.
In my example we use the faster AI option and type in the prompt:
Please write me a short controversial sketch between 2 animated characters,
discussing social media, max 15 seconds long.
GENERIC PROMPT
Please write me a short <add your description> script between <number of characters> animated characters, discussing <add your Topic> max <15> seconds long.
You might need to tweak it a bit further,
"please more in the style off..." /// "less off ..." /// "add some..." /// "create another version..."
And adjust some vocabulary, to suit your style.
Lastly we copy it to a Google Doc or any other Text Editor.
And we are done with your dialog and script.
#2 VOICEOVER
Now we need someone to speak in and create the Voices for our Characters.
Of course, we could do it ourselves, but again let AI do the Work for us.
So we go to Elevenlabs.io
and to Text to Speech or Speech Synthesis.
We choose a Voice that we like for our Characters.
and copy all the Dialogue one Character says from Google Docs
into Elevenlabs.
Make sure to put in some dots between the lines.
As we need the pauses later on, for our other character to speak.
Then we just hit “Generate” and Download our Voice.
And repeat the Process for the other Character as well.
#3 TRIMMING
The next step is crucial to give our characters some realistic flow and have a fluent conversation.
Otherwise it would be just like your Mother – talking talking talking and you’re just nodding – yes ;O)
We import the two audio files to CapCut.
And lay them on top of each other.
Then we select the Clip.
Cut the pauses with “D”.
and trim and move the conversation to the right point.
So we have a fluent conversation. Ping, Pong, Ping.
In the final Step we export each Audio file separately.
by clicking this little mute icon here, for the Character we don’t want to hear right now.
And repeat again for the other Character as well.
#4 ANIMATION
Now comes the fun part.
We go to AdobeExpress.com
→ Animate from Audio.
We choose a Character we like, and adjust the Size to Instagram [4:5]
to insure we got the biggest resolution and space of your character.
You could also have the option to choose a background and 16:9 here.
But for the most flexibility in the next steps, we create a generic Green Plate as Background,
so we can have our character move freely.
Then we upload our Audiofile,
(here would also be the option to just speak in our characters voice – heydi ho)
Hit “Render”
and boy oh boy let the magic happen.
Now we have our Animated Character including mouthmovements, gestures and all.
I really really love it.
Hit “download” and do the same thing for the other Voice
#5 EDITING
For our Final Step,
we import both animations back into CapCut.
Remove Background
To set them free and get rid of the Background we select the Video
-> go to Cutout -> select Chroma Key
-> pick the color and adjust the strength until the Background is gone.
Repeat this for the second Character.
Background Image
Now we just gonna Add a Background
you can use Google Images, Canva or one that comes with Adobe Express
ProTip:
make sure it fits your angle of perspective, so they don’t just flow around.

-> I just went to Canva, searched for “Mall Cartoon”
-> Downloaded it and imported it to Capcut
Animate
I juts go briefly over this:
Select your Character
-> Video -> Basics -> and click this little Diamond Icon (known as Keyframe) for Position,
this created a keyframe also down in the Videos Timeline.
Scroll Forward -> Move somewhere else -> this created a second Keyframe
and now you can move the Character during your Video.
Captions
One easy way to add some extra Quality to your Animation are Captions
of what each Charachter says.
For this one, we go to Text
-> Auto Captions
and can later further adjust them under the Effects Panel on the right,
Text -> Basics – Font , since, style etc
If you like, you can add some Zooms and Effects to your Video and your done.
And hit Export in the top Right Corner. BOOM your Animation Video is done.
what would have taken you days and professional speakers just a few months ago.
you can do now in a fraction of the time.
>>Here is my final Result<<
I hope you liked this Tutorial
please tag me in your own Animations.
and please subscribe if you want to learn more content hacks and tips.
Cheers 🔥


