In the last 30 Days, this new AI Influencer made somewhere between 7000€ and 11.000€ a Month.
earning up to 1000€ per Post.
And creating these High Quality AI Influencers is actually way easier than you might think.
Which is why in this Video, I will show exactly how you can make these AI Influencers Images too
using only free AI tools – let’s get started.
We start off with Adobe Firefly.
Go to Adobe and click on “Text to Image”
And describe our Model that we want to have,
I just go a remodel the other AI Model.
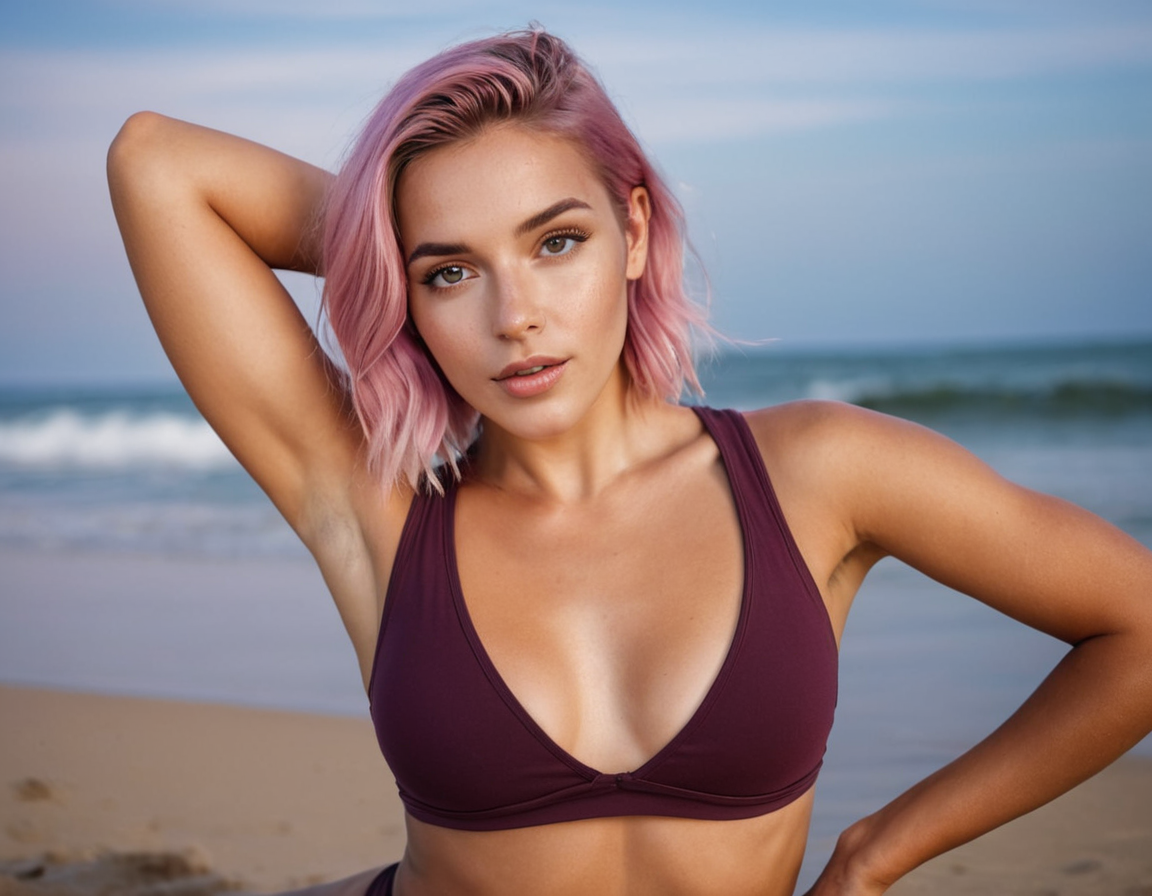
“woman with pink hair looking into camera, at the beach”
and Content Type should be “Photo” too make it look realistic.
And this is already it, if you just want a single image.
But Adobe and all Closed Source AI Image Generators have two issues at the moment,
1) is that its hard to recreate an image with the same face, which makes it harder for us to create a whole Instagram Account vs just a Single Image, and the
2) is the safety features, which wont let you create any NSFW – Not Safe for Work Images e.g. prompt with “bikini” etc in it.
This where we head over to an Open Source AI Generator.
____
In our Case its called Fooocus, and this doesnt run on the Web, it runs locally on your Computer.
So you need to install it first.
To be honest, it looked scary at first, since I am not a coder or programmer as well.
But I could manage it within 30min to install and get it running on my M1 MacBook, and it might be ever easier on a Windows Machine.
I linked you my step by step installation guide down here.
_ _ _ _ _ _ _ __ _ _
Install Fooocus (Ai Image Programm)
https://github.com/lllyasviel/Fooocus
Install Guide for Windows, Linux and Mac you can find on the Website
Down below you will find my Instructions (of course this should be at your own risk)
- Install Homebrew (Software to install Developer Programs)
> Open Terminal on Mac (via Search)
> Insert code
/bin/bash -c “$(curl -fsSL https://raw.githubusercontent.com/Homebrew/install/HEAD/install.sh)”
> Enter your Password
> Hit Enter once More (download and install of Software in the Background)
__________________
2. Install Github
(Software to run Developer Programs)
> Open Terminal on Mac (via Search)
> Insert code
brew install cmake protobuf rust python@3.10 git wget
> Hit Enter
*in case you get an Error Message or nothing happens
(most likely because a install dictionary was wrong, was the case for me)
In case you get an Error Message or Nothing happens, try this – this solved it for me
First > Insert Code
echo ‘eval $(/opt/homebrew/bin/brew shellenv)’ >> /Users/$USER/.zprofile
> Hit Enter
Second > Insert Code
eval $(/opt/homebrew/bin/brew shellenv)
> Hit Enter
Third > Insert the Install Code again
brew install cmake protobuf rust python@3.10 git wget
> Hit Enter once more (now it should install it)
_________________
3. Install Fooocus (AI Image Generator)
3.1 > Install “Anaconda”, which includes, PyTech*
https://www.anaconda.com/download/#macos
*tbh – I also dont 100% know how this work and if this was necessary, but I did it.
After Install
> Open Terminal on your Mac
3.2 > Insert Code
git clone https://github.com/lllyasviel/Fooocus.git
> Hit Enter
3.3 > Insert Code
cd Fooocus
> Hit Enter
3.4 > Insert Code
conda env create -f environment.yaml
> Hit Enter
3.5 > Insert Code
conda activate fooocus
> Hit Enter
3.6 > Insert Code
pip install -r requirements_versions.txt
> Hit Enter
3.7 > Insert Code
python entry_with_update.py
> Hit Enter
DONE
Now everything should be installed and you good to go.
Some further Install Guides that helped me to Install Homebrew and Github,
but instead of Stable Diffusion, I installed Fooocus (which includes Stable Diffusion XL, and has a better Interface)
https://uxplanet.org/install-stable-diffusion-ui-on-mac-beginners-guide-351e40a9e8e2 https://www.youtube.com/watch?v=dIB4GW3iACQ
Run Fooocus on your Mac
> Open Terminal (via Search)
> Insert Code (tells its Coming from Fooocus)
cd Fooocus
> Hit Enter
> Insert Code (Activates it)
conda activate fooocus
> Hit Enter
> Insert Code (Open Fooocus)
python entry_with_update.py
> Hit Enter
App started successful.
Use the app with http://127.0.0.1:7865/ or 127.0.0.1:7865
> Copy URL into your Browser
DONE
Create with Fooocus
> go to Input Image -> Image Prompt
> Upload the Image we got from Adobe Firefly (alternatively we could also recreate a new one here)
> Click Advanced Settings and check “face swap” (default setting are fine)
> Insert your Prompt “woman doing yoga at the beach”
> select “Advanced” Prompts
> go to Style and select “Fooocus Photograph” , the rest is mostly for different Styles


